ITS GRILLED ZA SEASON! I know I talk about pizza A LOT and how we like it A LOT. BUT, when it starts staying lighter out later and turning your oven up to 550 degrees to cook pizza on a Friday night will turn your house into a sauna, it’s time to fire up those charcoals and grill that za!
We’ve made a lot of grilled za in our time, and I have to say that Dave has it down to a perfect science, which is why I wanted to make a step-by-step tutorial for all ya’all that are maybe a little intimidated by the grilling of pizza. The crust is perfectly crispy on the outside but still soft and chewy on the inside, with just the slightest hint of ‘grilled’ flavor. Trust me – it will be your new favorite way to eat pizza, especially in the summer time. This methodology uses a Weber charcoal grill, which I know a lot of fellow hangry people like me think is a lot of time and work and effort. But, it is so worth it. I mean, those Webers aren’t shaped exactly like a pizza by coincidence – ammmmaright?????
These instructions are straight from the horses (Dave’s) mouth. So, I apologize in advance for 1) somewhat nerdtastic talk about temperature things and 2) use of the word BOOSH. I also apologize for the meh pics on my part. It was nearly dark out by the time we wrapped this bad larry up. But, you can ignore the icky white balance issues when you see those chunks of perfectly grilled prosciutto.
Perfect Grilled Za
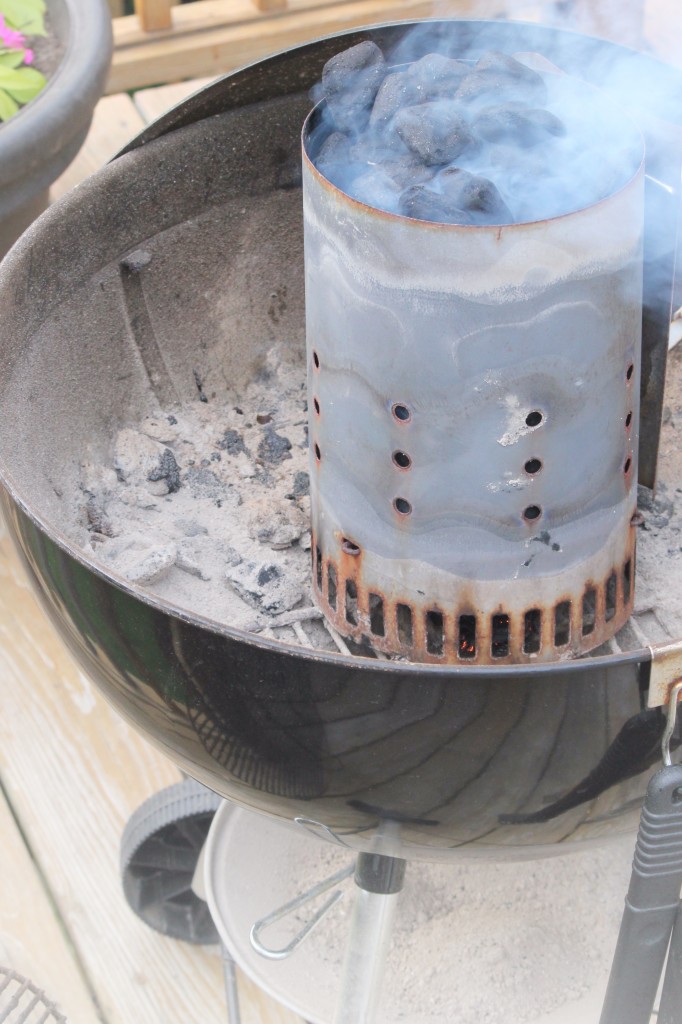
Use a good dough and let it prime by letting it rest in a warm area so it starts to rise. Use a coal chimney to heat up your charcoals. If you don’t have a chimney, make a pyramid with the coals so that the coals will heat evenly. Charcoals are ready once the ones at the top of the chimney start to form white ash along their edges.
Pour charcoals out and rake them to the outside forming a ring. This makes for more even heat distribution whereas a pile in the middle of the grill would create a hot spot and result in burning of your crust.
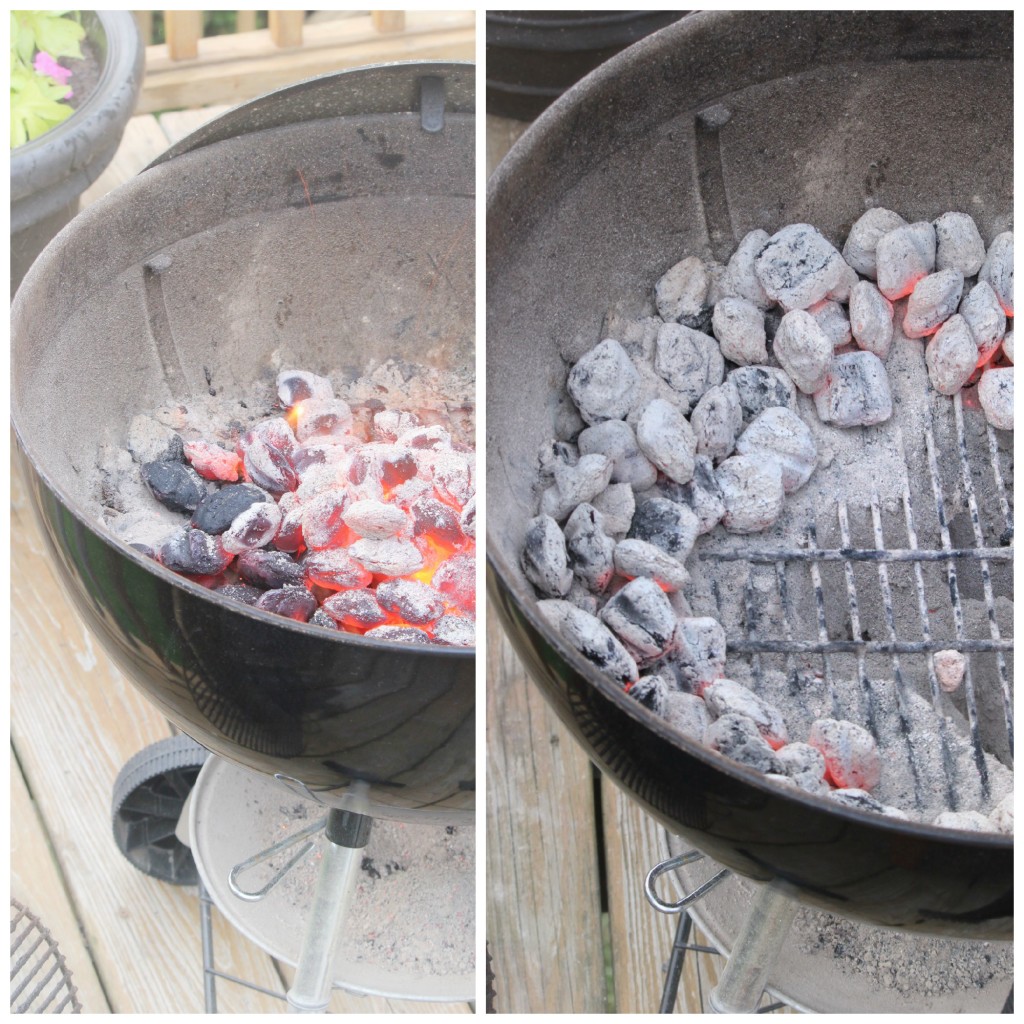 Now put the cover your grill. Leave the bottom vent wide open if there is ash build up inside your grill, or half open if there is no ash build up. For the top vent, either close entirely or leave slightly open. This is for regulating the heat and cutting the air supply that is feeding the charcoal down. Not doing this will result in the charcoal burning too hot which will burn your dough and pizza to a char.
At this point you will want to wait 10 minutes which is the perfect time to roll/toss your pizza dough for your crust and prepare your toppings.
(OR YOU COULD DO THIS – SNAP DAVE)
DO NOT PUT ANY TOPPINGS ON AT THIS POINT! Transfer the dough to a pizza paddle that has a liberal amount of flour on it or some other large/flat/thin, well-floured surface for transferring to your grill.
Now slowly slide off your pizza dough directly onto the center of your grill. It may not slide on completely round but you’ll have around 20-30 seconds to reshape it with your fingers. Careful not to touch the grate!
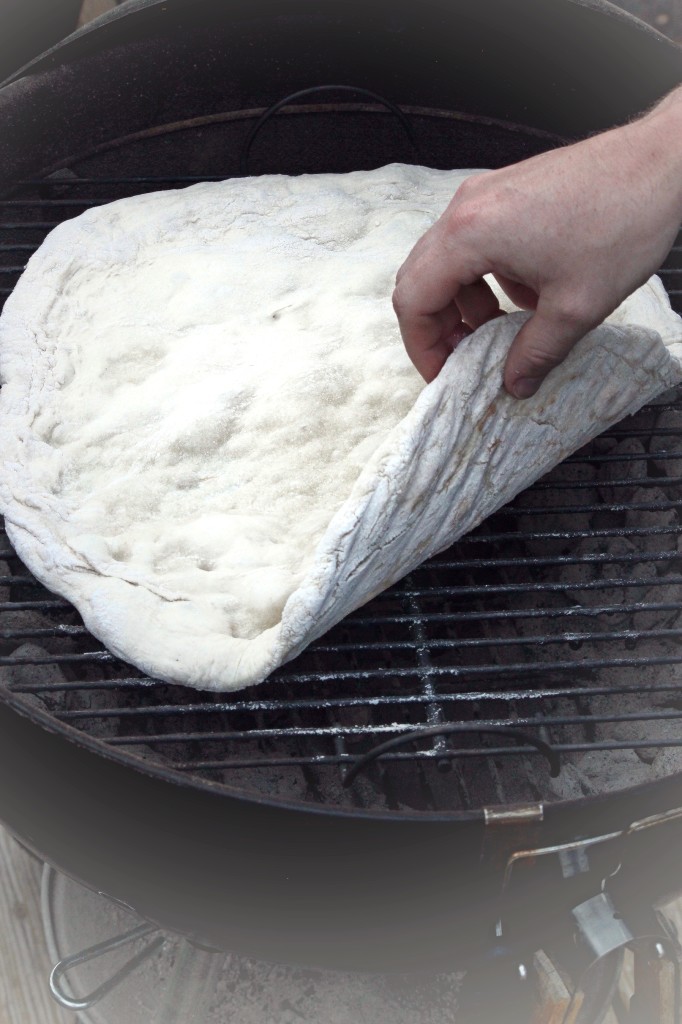
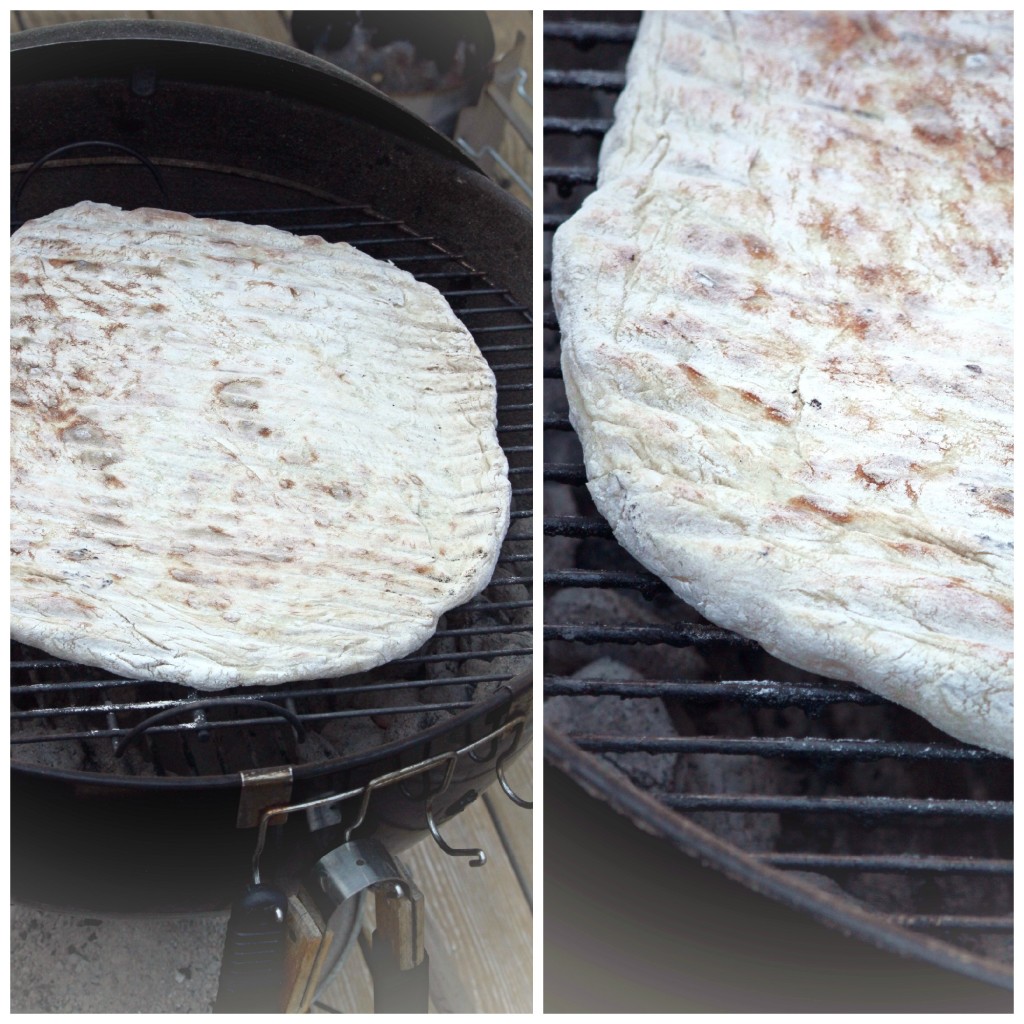
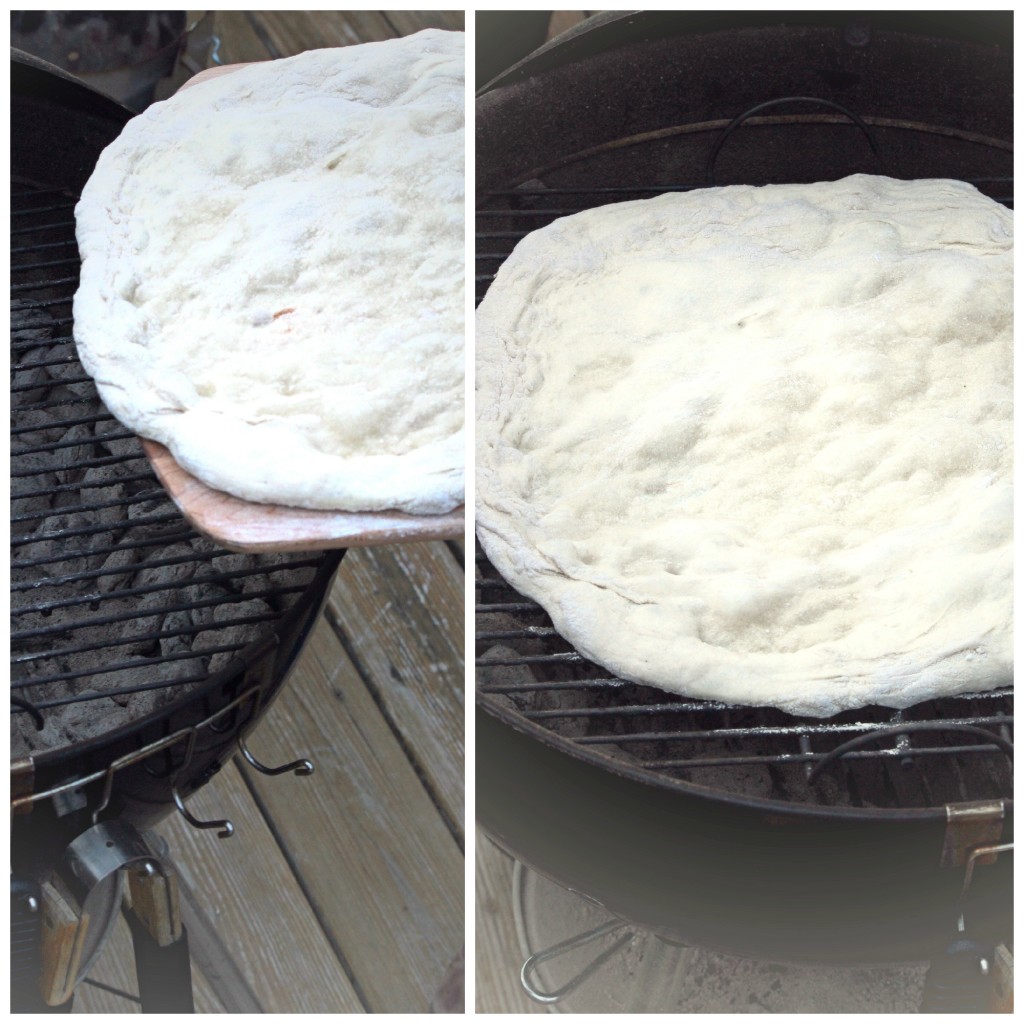 Leave the cover off and let the dough cook for a couple minutes or until the underside is grilled to your liking. You’ll start to see bubbles forming as it cooks. After a minute or two, you should be able check by lifting with tongs (or your hands).
Now using tongs/spatulas/pizza paddle/other, flip the dough over to the other side. Remember how we reduced the amount of air being fed to the charcoal earlier? Well now that the cover has been off for a few minutes, things should be getting hotter. Cook the second side for around a minute.
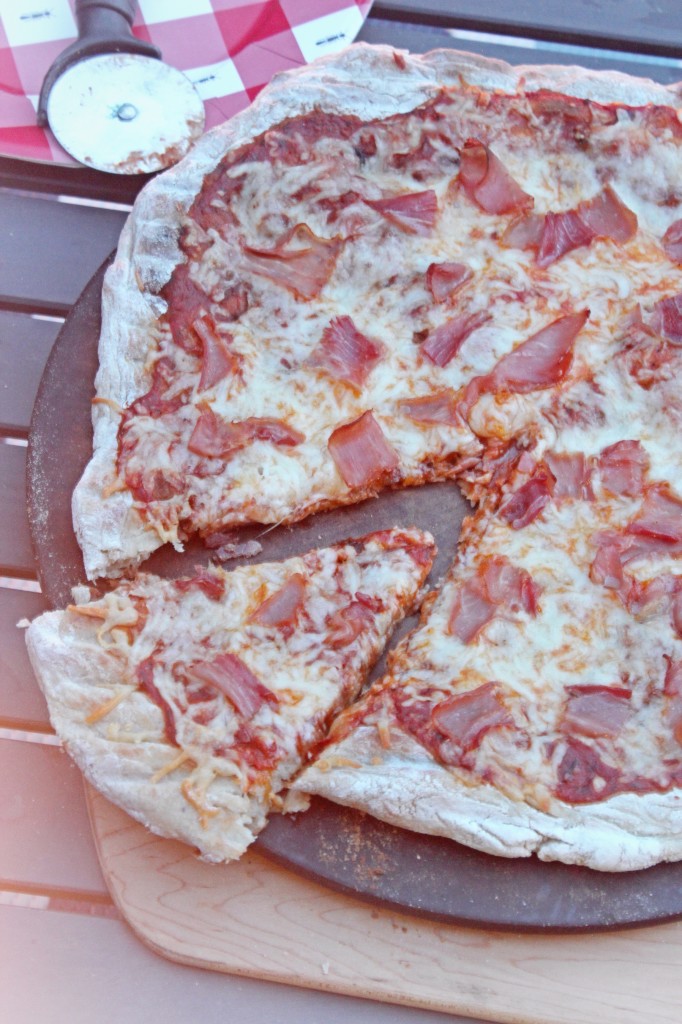
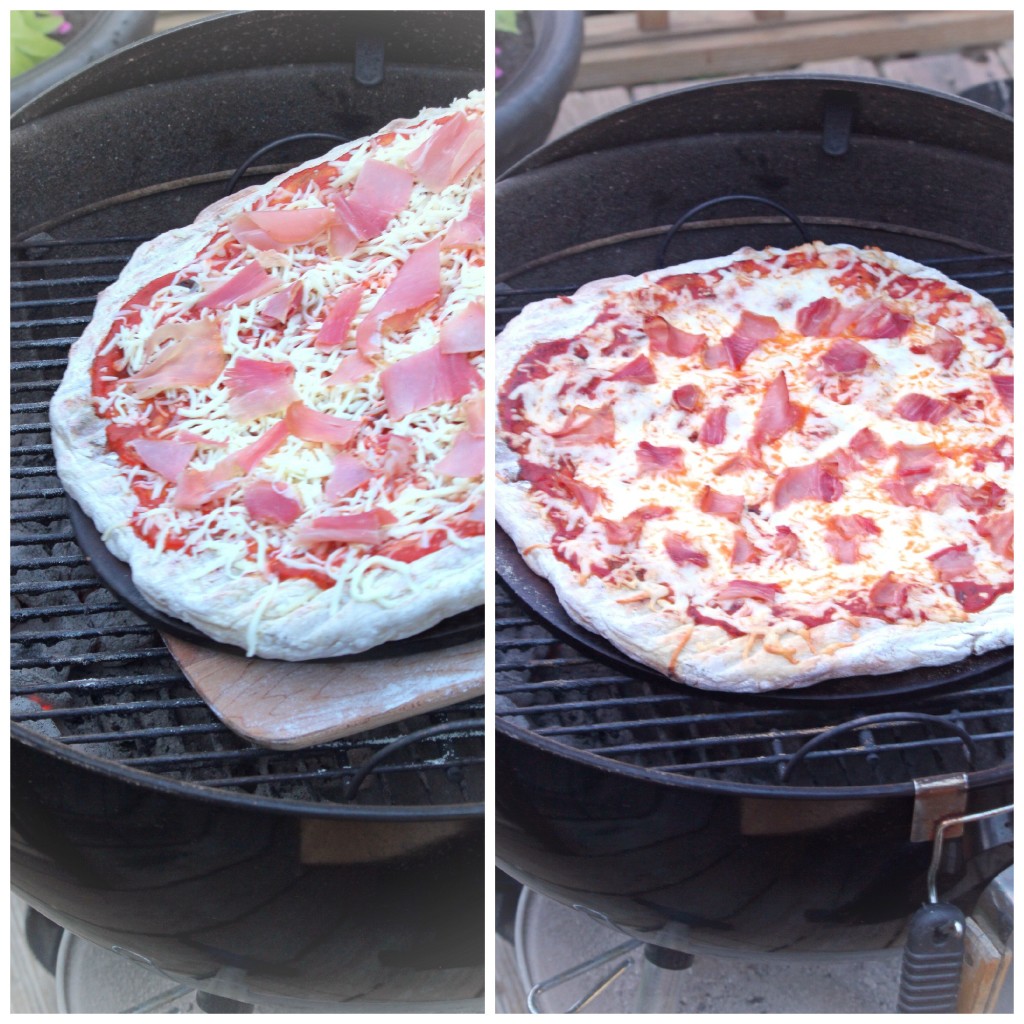
Remove the dough from the grill and keep the cover off. Transfer the dough onto a pizza stone. Put on your choice of toppings. Transfer the pizza on your pizza stone back onto the grill and put on the cover to allow the heat to circulate around to cook the toppings. Adjust the top vent to be fully open and let the pizza cook. This can range anywhere from 8-15 minutes.
BOOSH!!


1 comment
Love the idea of grilling a pizza! Never would’ve thought to do that 🙂
Comments are closed.