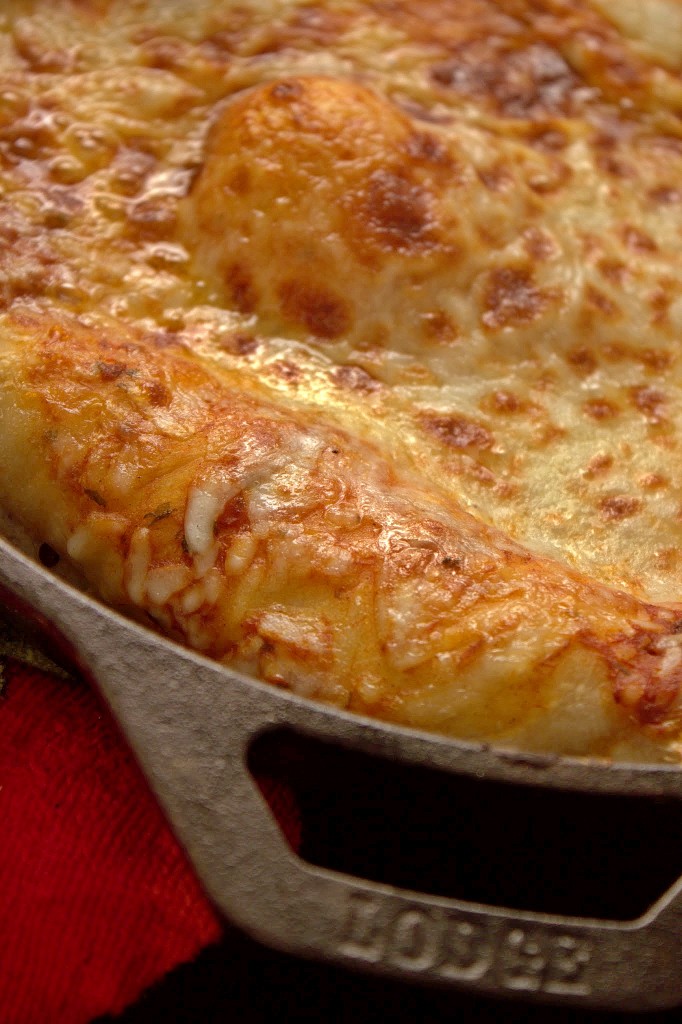
One of Dave’s Christmas gifts was a cast-iron skillet. It was one of those presents that you buy for ‘someone else’, but in actuality, you kind of want it yourself. But when you’re married, what’s yours is mine and what’s mine is mine – I mean yours. So it was going to be OUR skillet!
We’ve had many a dish served in a hot, sizzling hot cast-iron skillet – our neighborhood bar, Olde Magouns Saloon serves their Mac & Cheese in it’s own little skillet, which presentation wise just makes the dish look that much more appealing vs. a boring old dish. That, and the heat from the skillet keeps the food warm and gives it a nice crispy outer edge that you simply can’t get from any old serving bowl.
Since skillet purchase, we’ve made mac & cheese and pot pie in it, and they were delish. And then I saw some recipes out there for PIZZA cooked in a cast iron skillet – one more way to make my top three favorite dishes ever!
Now this won’t be the prettiest pizza you’ve ever seen, as the shimmying of the prepared pizza into the hot skillet probably takes some practice. But the pros to this method of cooking are:
1) Your crust is nice and crisp on the bottom, but then thick and doughy around the edges, just like a deep-dish you’d get in a restaurant (or even Chicago! Well, actually that’s probably stretching it a bit – but you get the idea)
2) The pizza literally takes like 3 minutes to cook – 4 tops. An impatient hangry person like myself’s dream!
This post is primarily for technique, as you can see in the picture we just made a plain old regular cheese pizza (we’re so vanilla – or in this case cheese). Feel free to make your favorite pizza creation using this fab method!
Adapted from Bev Cooks and Half-Baked Harvest
Ingredients
- Pizza dough/toppings/sauce of your choice
- Cast-Iron Skillet of any shape or size (ours is a 9" - if you're using a smaller sized skillet, you may want to cut your dough into 2 balls to avoid the edges being too thick and not cooking)
Instructions
Turn your oven broiler on high and let it get really hot. In the mean time, take your skillet and place it on your stovetop, heating it on high for about 10 minutes. If it starts to smoke, don't call the fire department. Just turn it down a smidge.
While your broiler and skillet are getting toasty hot, prepare your pizza on a very very well floured surface. I would recommend a pizza paddle or even a piece of parchment paper. You want to create it on a surface that will be very easy to slide the pizza off of and into the skillet.
When the skillet is ready, slide your pizza into the hot skillet. Be prepared for the pizza to get a little mangled in the transfer. It doesn't matter - it will still taste amazing! You do NOT want to touch the skillet at this point - say goodbye to your first two layers of skin if you do! Please please please use a potholder when handling the skillet.
Leave the pizza in the skillet on the burner for about 30 seconds. After 30 seconds, shut your burner off, and then (WITH A POTHOLDER!) transfer your skillet under the heated broiler. Leave it under the broiler for 1 minute - after a minute, rotate the skillet 180 degrees (1/2 circle - from 9 to 3 on the clock) and cook for another minute to minute and a half. When the cheese/crust starts to brown and bubble, you know you're done. These last minutes of broiling really depend on the thickness of your crust edges. See note below.
Remove from the oven immediately and let rest/cool on the stove top for at least 5 minutes - I'd say 10.
Slice and sink your teeth in!
*Notes:
Depending on the thickness of your crust edges, you may want to add an additional 30 seconds to 1 minute to avoid the center of the edges to be doughy. Dave and I's crust edges were quite thick so we ended up cooking under the broiler for just about 3 minutes. But if your edges aren't as thick, you won't need that much time. Use your best judgement!
https://www.andtheycookedhappilyeverafter.com/daves-dish-of-the-week-deep-dish-skillet-pizza/


