The minute we walked through the door of our new house, my mind started to explode with ideas for DIY posts. The possibilites were ENDLESS.
And then, we painted our kitchen cabinets and pretty much spent all the DIY mojo we had in about a week and a half.
But our mojo is back! Maybe it’s the new year – maybe it’s cuz’ it’s winter and icky and we’re looking to pass the time. Either way, we’re back on it! Dave’s working on a farmhouse table that I can’t waiiiiit to share when it’s done, and we’re actually going to be completely demolishing our living room next weekend. EEEEEEK. But we’ll keep you guys posted via the interweb.
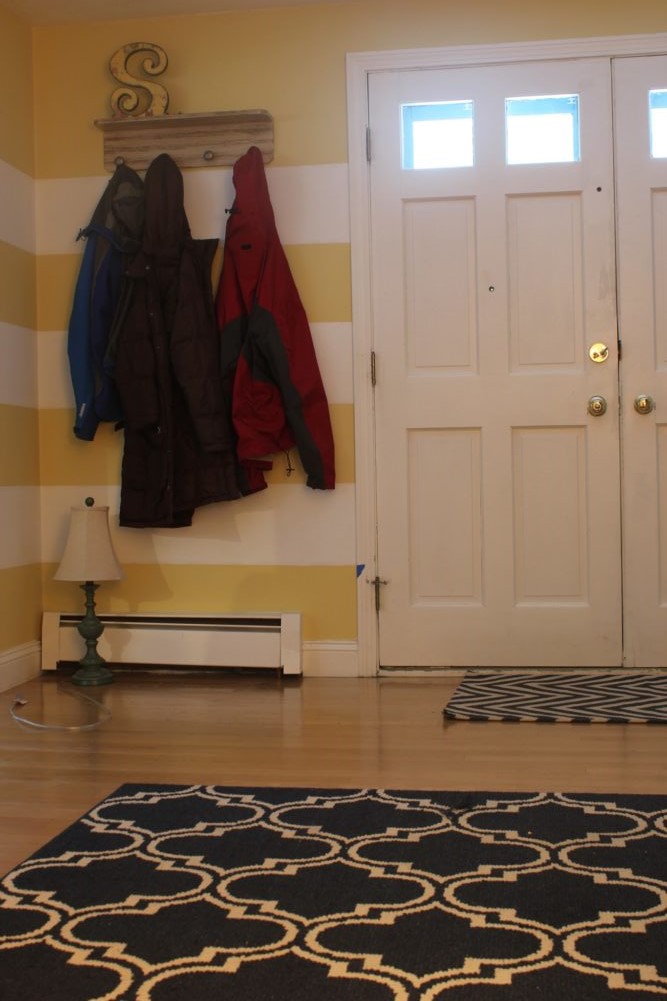
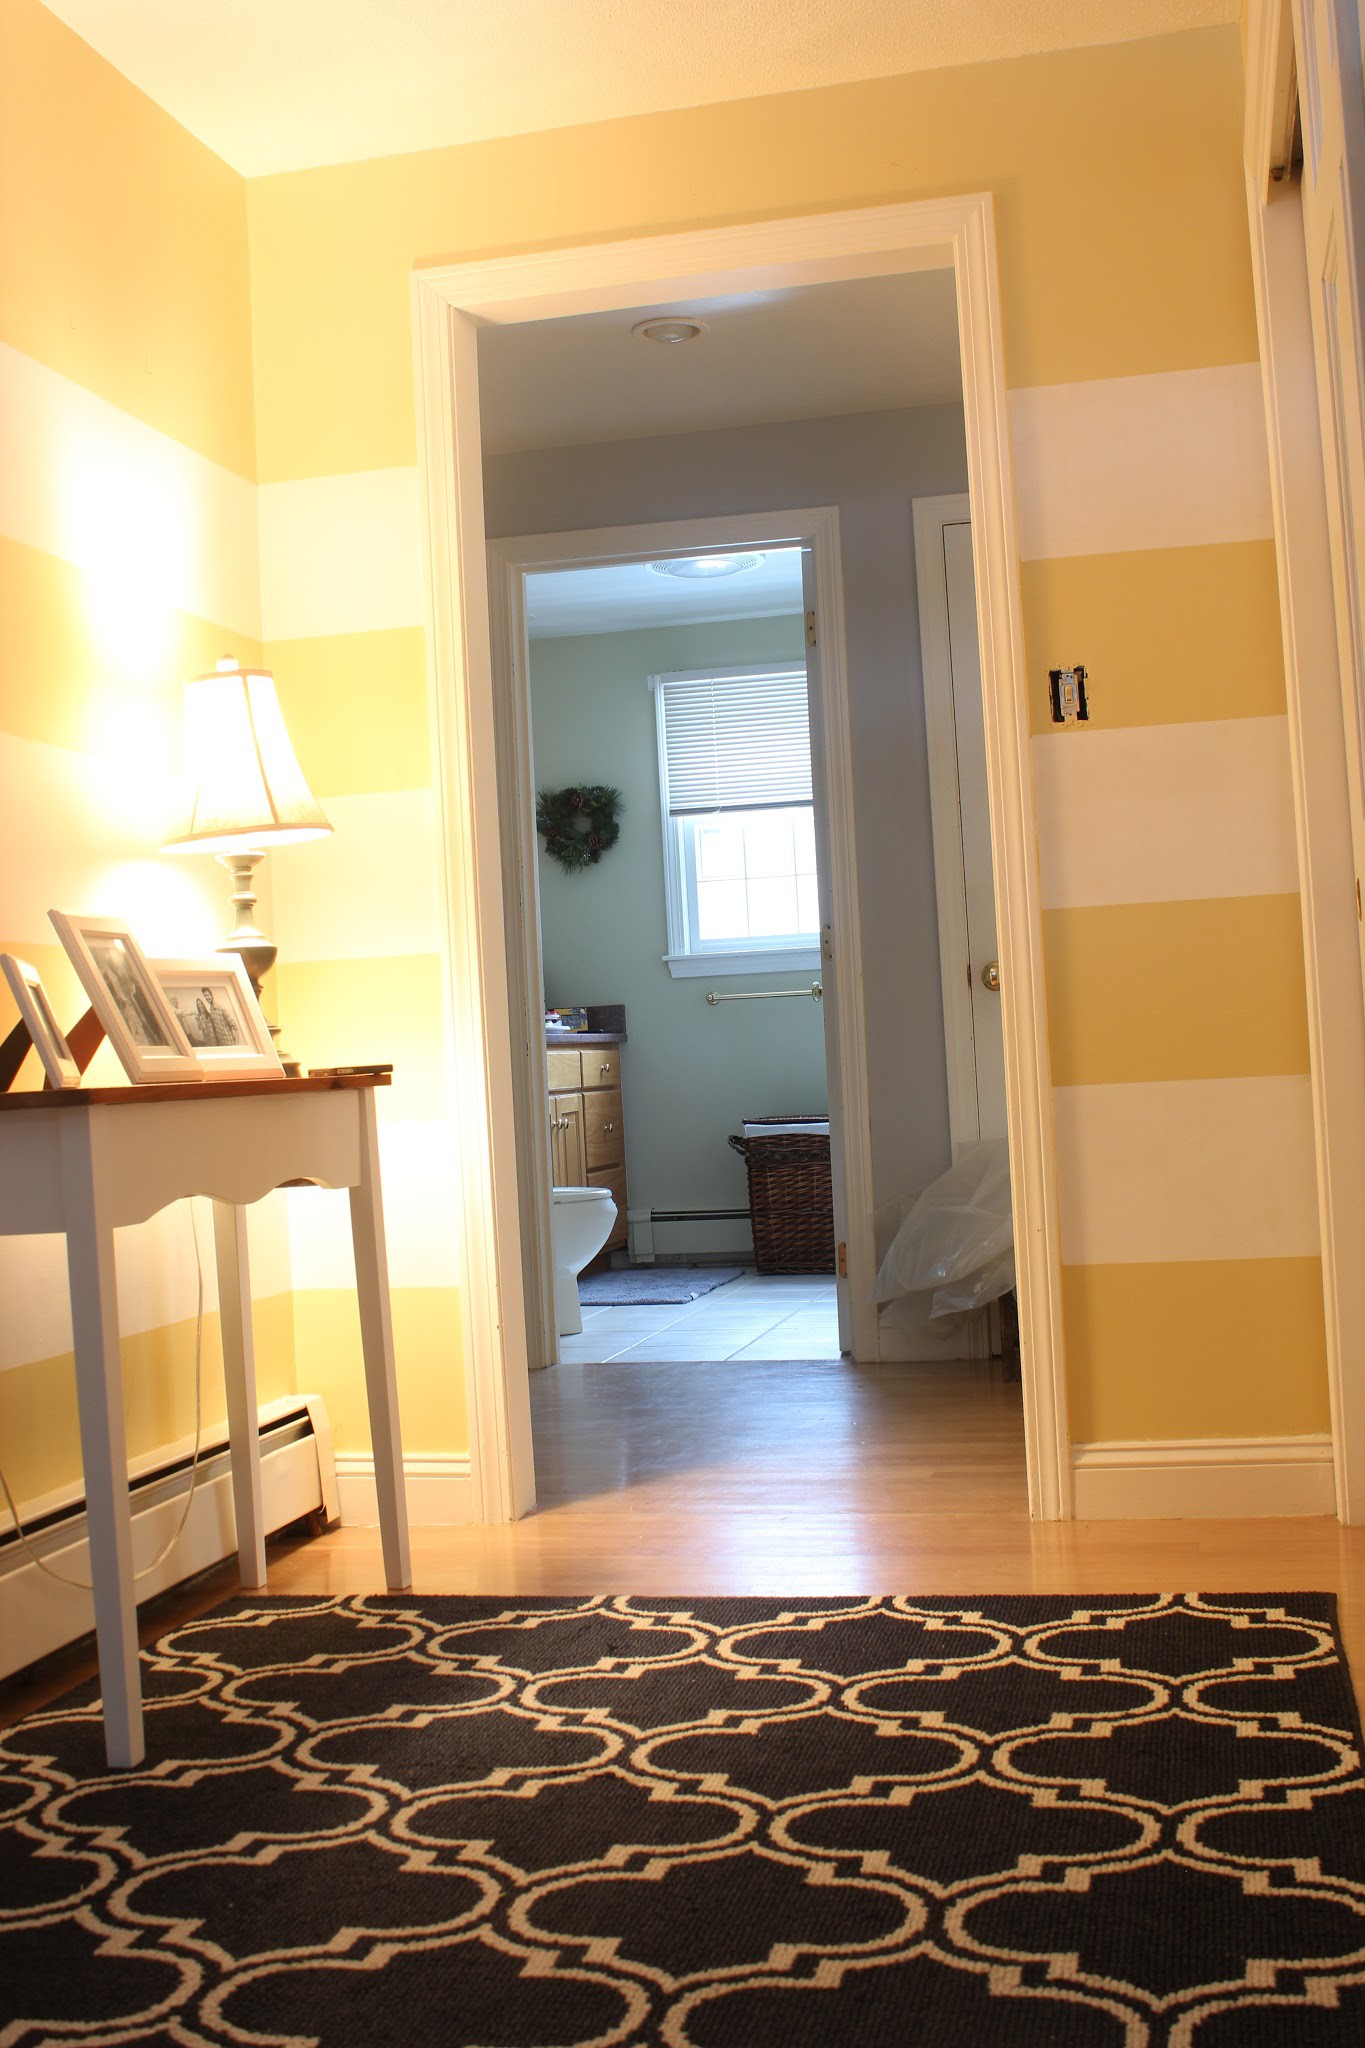
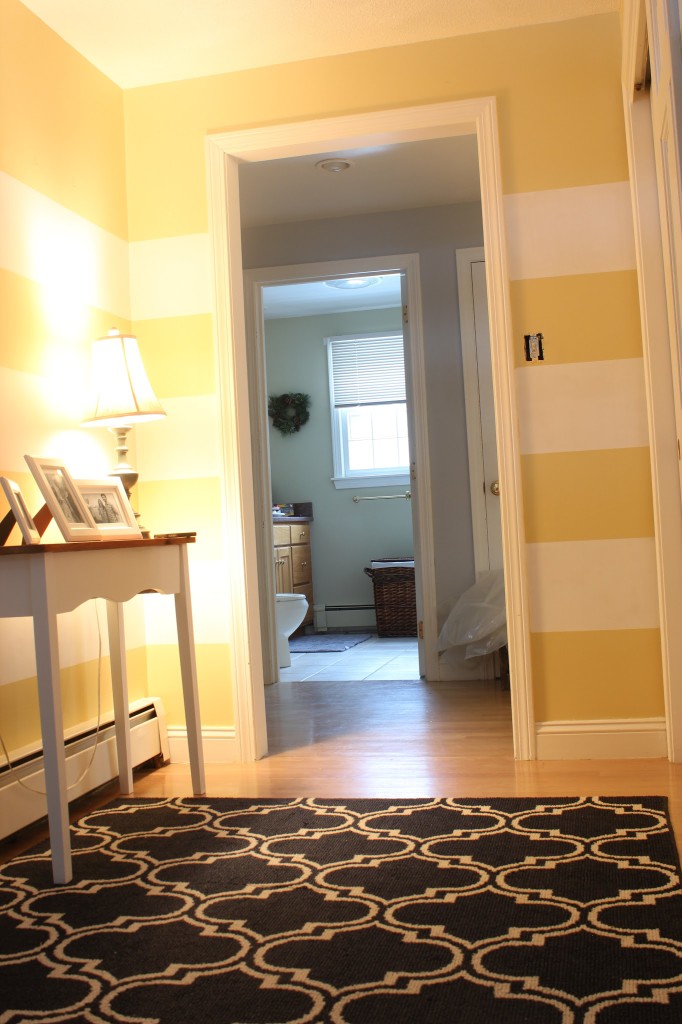
Now these pretties I’ve had brewing in my noggin for months now. We love our house – and I think one of my favorite spots in the house is the hallway, which is weird, I know. But it’s just like a cozy hallway that when you walk through makes you feel all warm and squishy inside. HOWEVER – the previous owners really liked them some pastel colors. Lots of hues of pink and the entire hallway, upstairs and down, is painted in a sweet, buttery yellow kind of color. Which in small doses is A-ok. But after a while, you want to pass the butter. Now we know that down the road we’ll get around to re-painting the whole thing, but for now, it’s just not a top priority.
I knew that these accent stripes would be a fab holdover for the time being. I’ve seen accent stripes alllllll over Pinterest. And there’s about a million tutorials on how to do them. This is just how I did it. Keep in mind, I was doing them for a small area, which I know would make a difference in the process vs. doing it for a larger room with longer walls. So take the bits and pieces that make sense for you.
I’d say it’s a weekend project from start to finish – it won’t take you like the full two days but close to it. The measuring and planning is by far the most time consuming part of the project. But give yourself at least a weekend. And keep in mind that I was painting stripes over pre-existing painted walls, so I really only had stripes to paint vs. painting over an existing wall color and then painting stripes over that. Obvs, that will take longer.
(Clearly I’m not a born DIY blogger as I totally forgot to take a before pic – just picture ALOT of YELLOW)
Here it is, step by step:
- Remove all art work, mirrors, nails, screws, etc. Your walls should be clear.
- Take a tape measure and measure the height of your walls from floor to ceiling, stopping right above or below any molding at the top or bottom of the wall.
- Once you have the height of your wall, determine how high you want your stripes to be and then choose a number that is equally (or close to equally) divisible by the total height of your wall. The height of our walls was 84″ – I knew I wanted my stripes to be on the thicker side, so I ended up doing 10.6″ stripes to yield 4 white stripes painted over the yellow walls (which would yield 4 white stripes and 4 yellow stripes). In the end, I actually ended up doing one less white stripe than I anticipated, leaving the top yellow portion a little wider than the stripes below it, and I actually like the way it looks! Go with your gut – symmetry isn’t always what will work best for you.
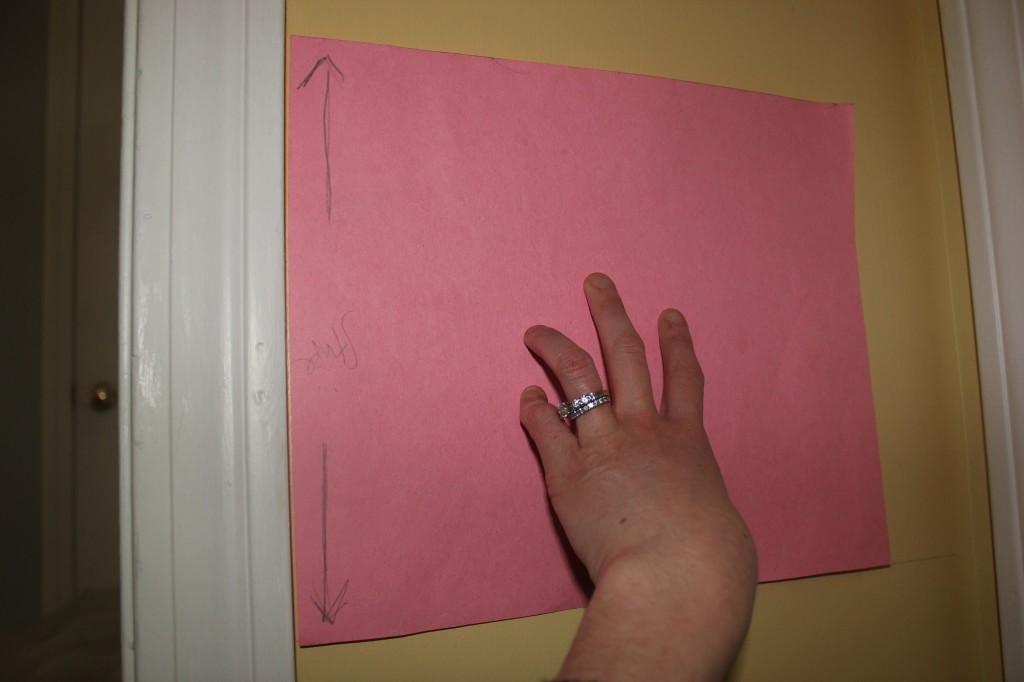
- Take a large piece of paper – I used a large piece of construction paper, or you could use a newspaper or flyer. Whatever you’ve got lying around will work. Measure the height of your stripe on the piece of paper (the width doesn’t matter as your lines will be different lengths on each wall – the height is really all you need). Then, cut the stripe out of the paper to use as a sort of stencil.
- Starting from the bottom, line your stripe stencil that you cut from the paper up against the wall, keeping it straight.
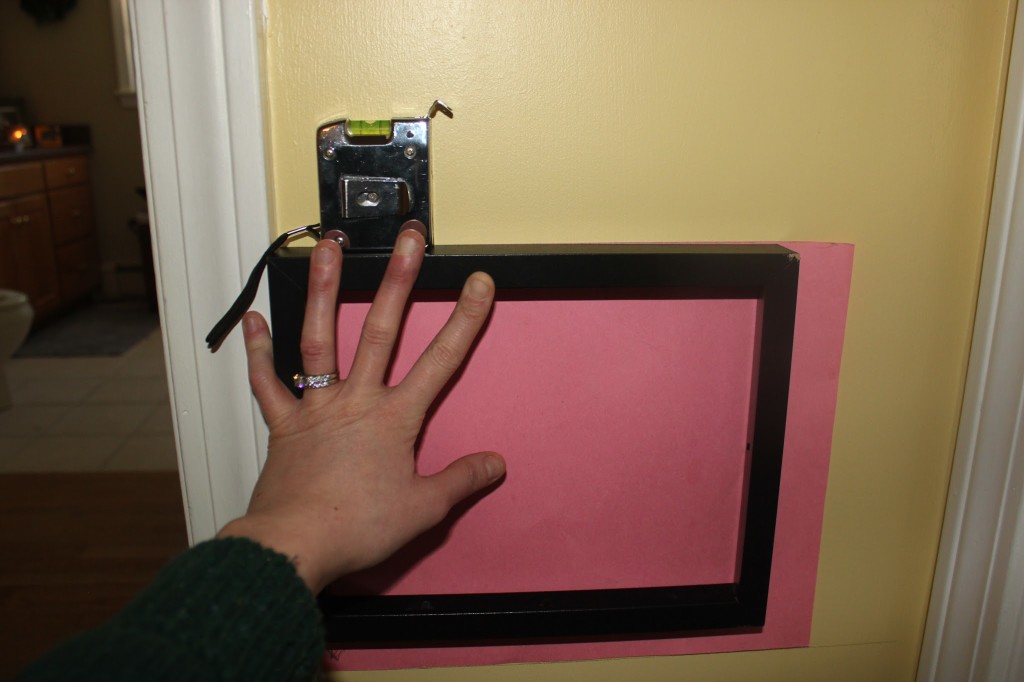
- Take an object that has a ledge or enough of a width to balance a level on top of it. I used an old picture frame with the glass taken out of it. My level was part of an old measuring tape.
- Take your picture frame (or whatever you use) and push it up against the square stencil, then balance the level on top. You want to make sure to get the level spot on so your lines are as even and straight as possible. When the level is even, take a pencil and lightly trace a line over the top of the stripe stencil. Carry the line all the way across to the other end of the wall, measuring in segments with the picture frame with the level on top of it to make sure that the line stays even all the way across.
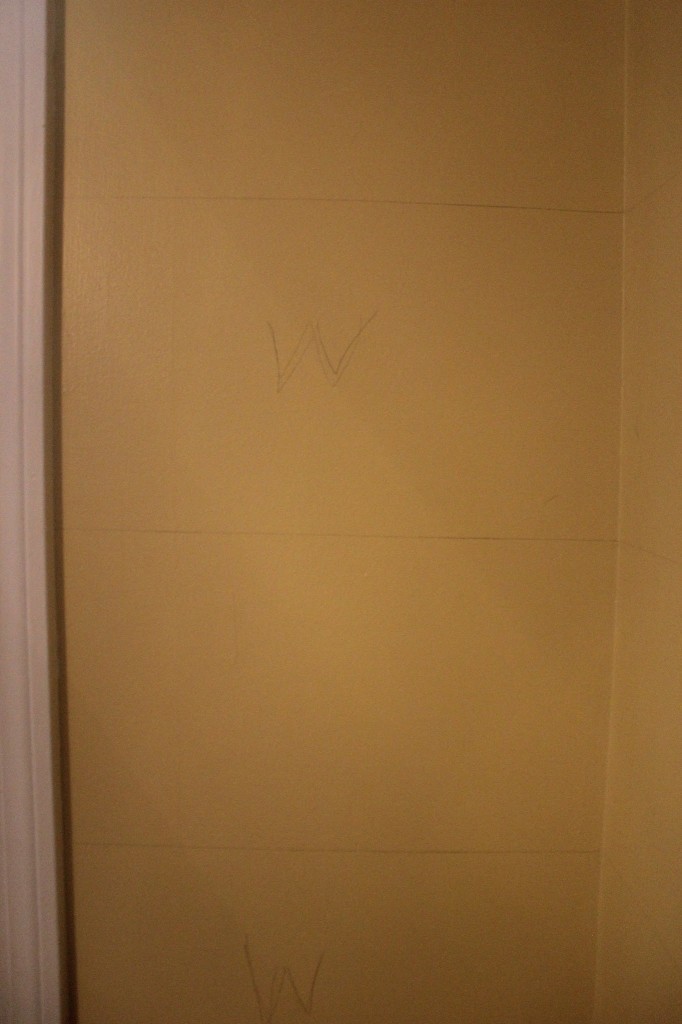
- Repeat this process with all of your walls, until you’ve got all of your stripes measured and lightly marked with a pencil. Next, and this step may sound silly, but TRUST me. DO IT. Mark lightly with a pencil with either an X (or anything) the stripes that you are going to be painting (see below). I did this and STILL started painting a stripe white that was supposed to stay yellow. You’ll be looking at these stripes for a while and your mind will start to get all stripey so trust me. Mark your stripes.
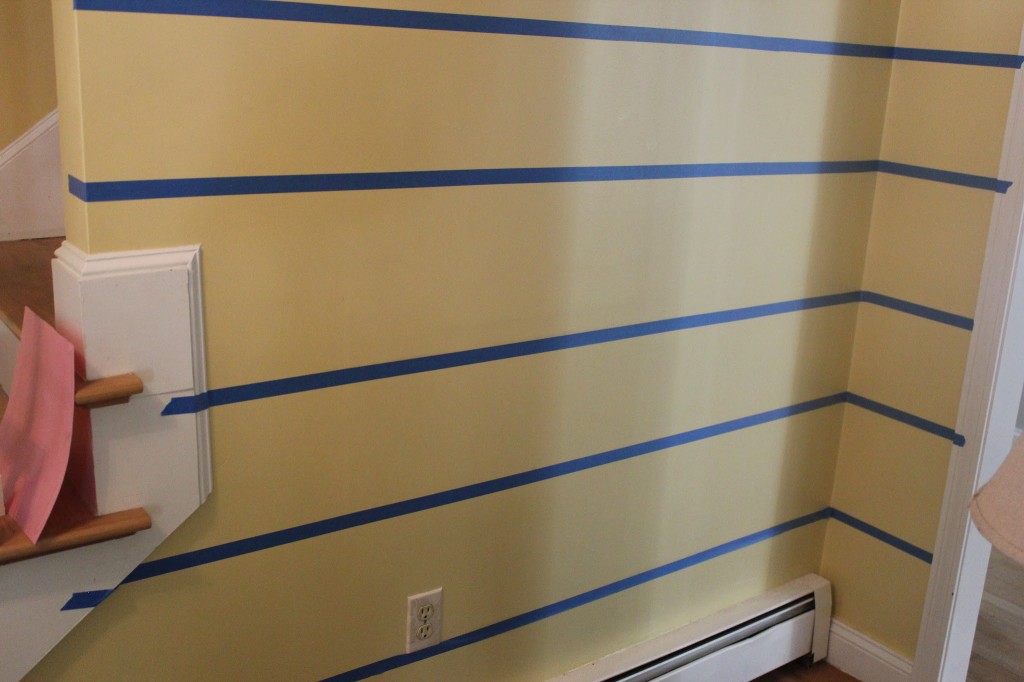
- After they’re all stenciled and marked, you can take your painters tape (I used Scotch – it works pretty well – other people use Frog Tape and speak highly of that) and slooooooowly line it up against the stenciled lines that you drew. When I say slowly, I mean slowly. You want to make sure that it lines up exactly with the lines that you drew since you know those are straight and level.You also want to make sure that you place the edges of the tape properly – meaning you’re not lining the tape inside of stripes you’ll be painting. You’ll notice in the picture below that even though the stripes are all even, it appears that some are wider than others. The wider ones are the ones that will be painted and the thinner ones will stay yellow.
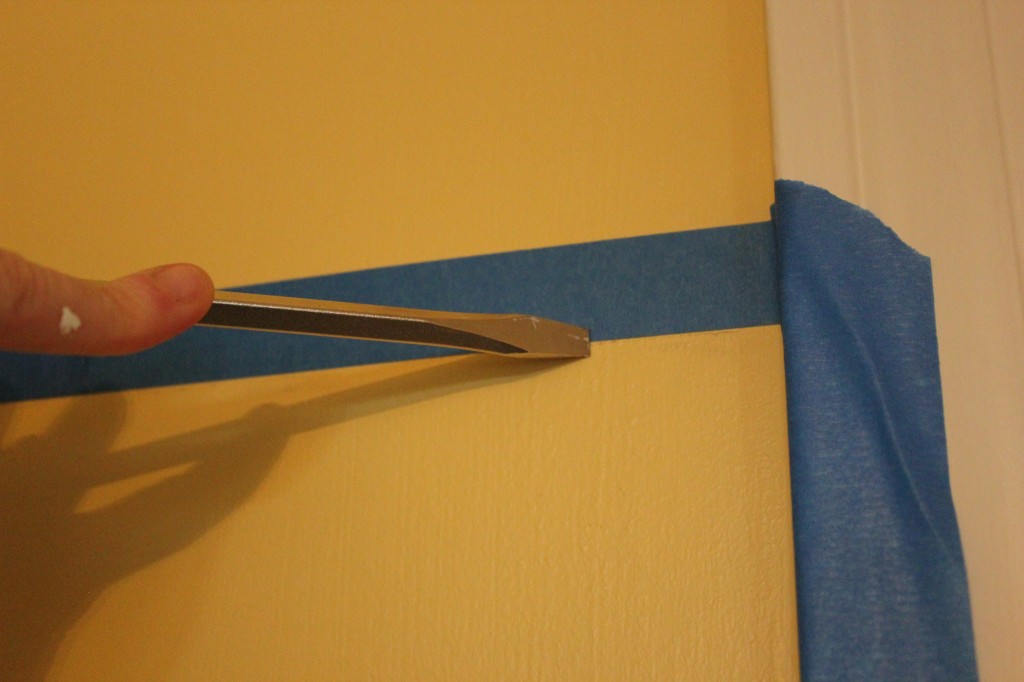
- After you get all your painters tape on the walls, take a flathead screwdriver (or your fingernail – as you can see, I don’t have those) and also SLOOOOOWLY and somewhat gently go over the edges of the tape on the side you will be painting over with the flathead, making sure that that tape is as snugly stuck to the wall as possible to avoid paint seeping through any little crevices when you’re painting. A lot of tutorials I researched actually recommended using a clear seal (or the color of the wall paint) to seal the edges of the tape, almost using it like a glue to hold the tape down to the wall. Since I didn’t have the original color of the walls, I couldn’t use that option. And I’ll be honest – there are some stripes that the paint did seep in just a smidge, but at the end of the day YOU are the only person that will notice that. If you want to try to use that method, give it a go! The flathead screwdriver seemed to work pretty well too. Just take your time and try not to rush.
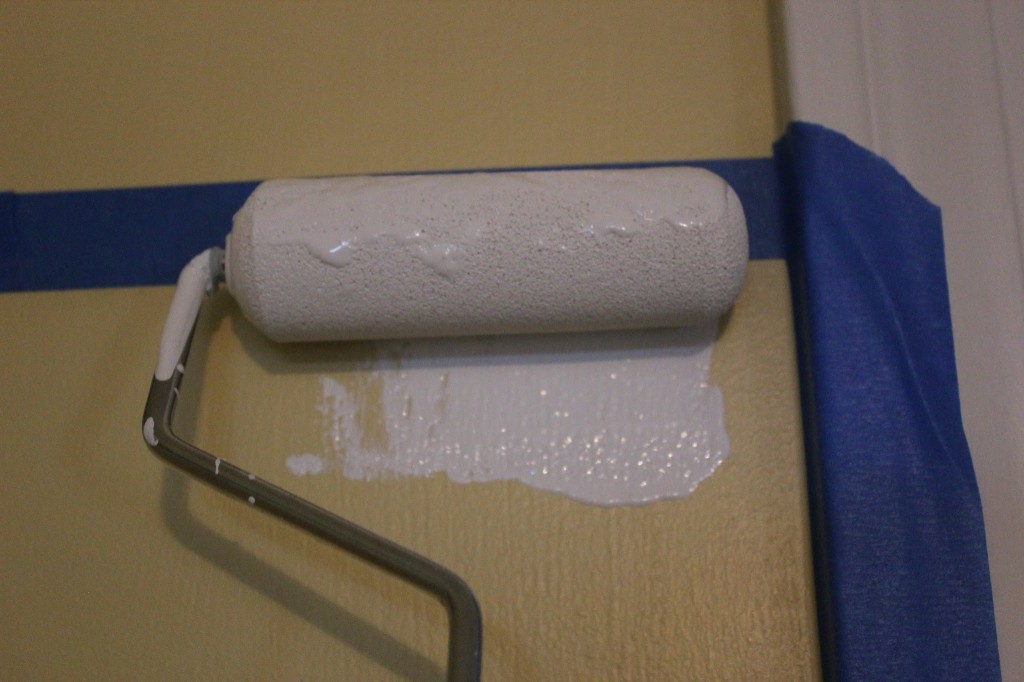
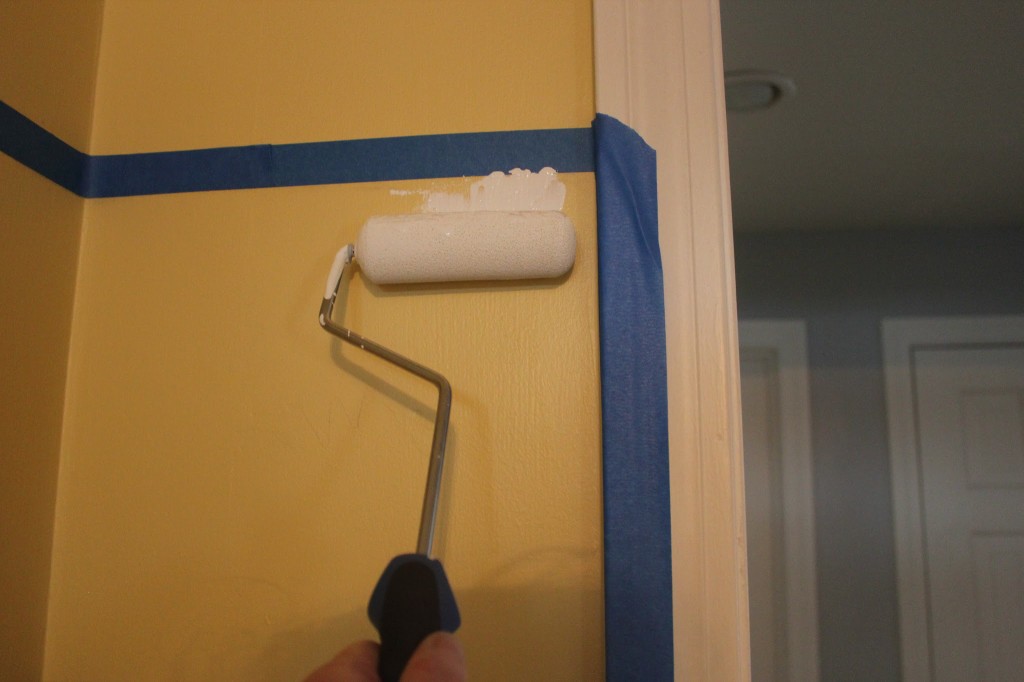
- After you seal off any other trim/etc that you don’t want to get paint on w/ painters tape, you’re ready to PAINT! EEEK! I used a smaller sized roller and found the best method to be starting at the top of the stripe and moving downward to meet in the middle and then going to the bottom of the stripe and moving up in the opposite direction to meet in the middle. Being that I was painting up and down vs. side to side, I think that this gave the best chance to not have paint seep in underneath the tape because you were painting directly over it. But, see what works for you!
- Apply one coat – then another – after the second coat, you want to peel the tape off. Letting the paint dry completely will run the risk that your tape will stick and screw up the edges of your lines. So after two coats, just tear it off slowly. Repeat with all your lines, touching up any little spots that need to be touched up.
And there you have it folks – STRIPES! I can’t even begin to tell you what a difference they make. For a $20 can of paint, a couple free weekend days, and some handy dandy math work, you have a total makeover without the hassle of having to repaint every square inch of wall space. It may be a bit of a process and take some patience, but in the end, it’s so worth it! And trust me, anyone can do it.
And don’t make yourself crazy trying to make the stripes 100% perfect. You may have a stripe that’s off a smidge or an edge that’s not as crisp as you’d like it, you will be the only one that knows it. People are going to notice the overall look of the stripes and how sharp they look. Not if you had a little drip or drab of paint seep through your tape. And once you get some wall swag up on those stripes, crisp shmisp! People will be wondering how you ever did all that work and made it look so great!
So now you know how to freshen up that wall with the paint that’s ‘meh’ – get stripe’in!
