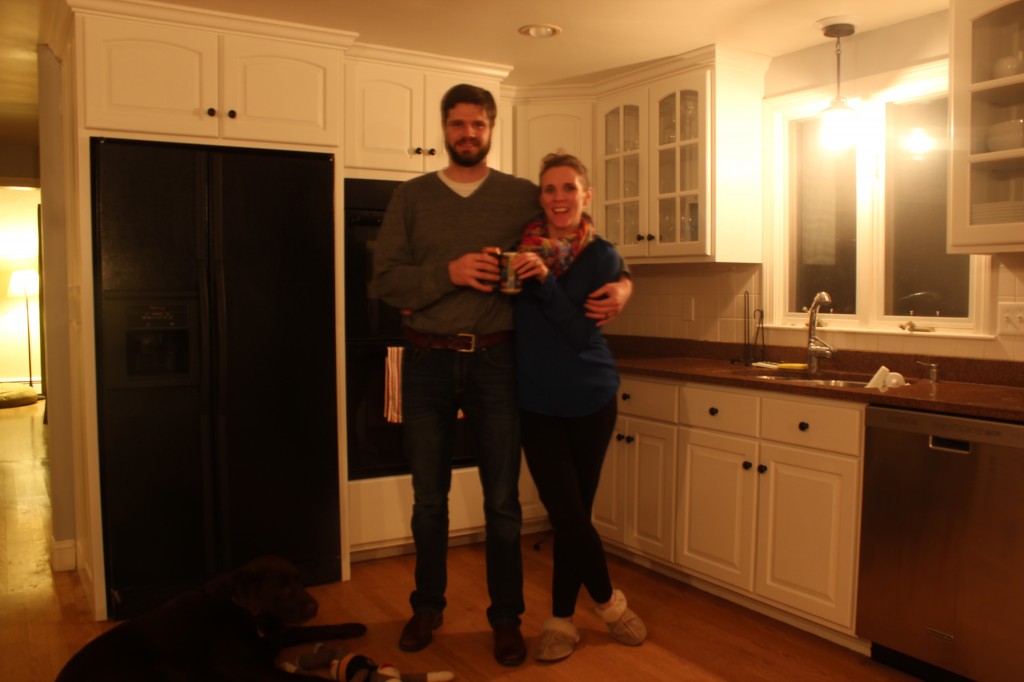
Well my friends, now you can FINALLY hear about these cabinets that I’ve been talking about for weeks now (or just skip right over this post if you’re like, so sick of hearing about them, kind of like I am!) But I just couldn’t not share with you, because I know that there may be some of you out there that are like “oh man, I’d love to paint my cabinets, but it’s so much work and I don’t have the time and yadda yadda.” Well. I won’t lie. It is TONS of work. But you can do it, and when I tell you that the work and effort you put in will be well worth it, I am also not lying. Dave and I couldn’t be happier with how they turned out. And now they’re like our little cabinet babies that we walk around wiping stuff off of constantly, and try not to slam to hard. We’ll see how long that lasts.
But alas. The process.
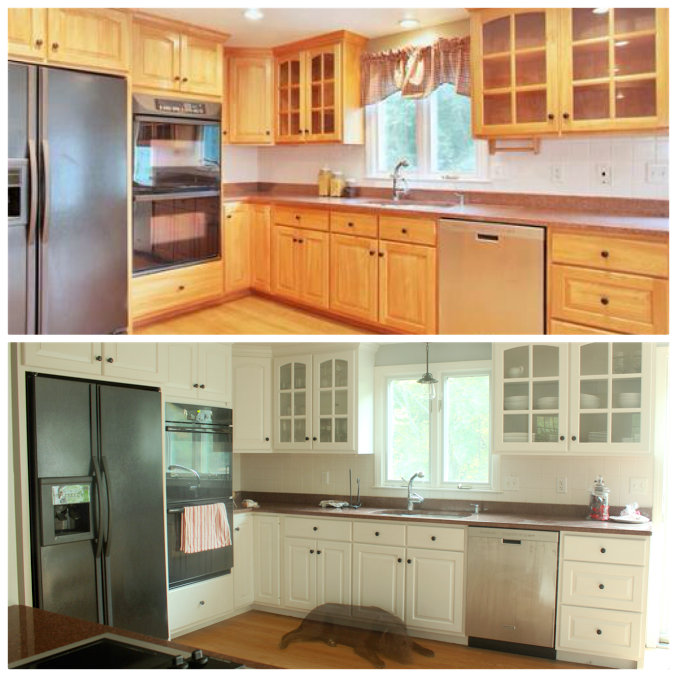
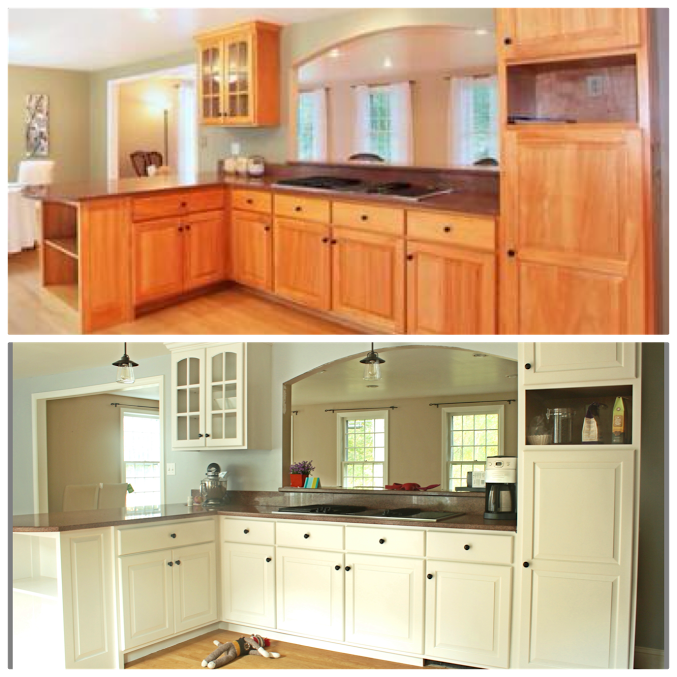
When we first looked at this house, the kitchen was probably one of our favorite features. However, the color of the cabinets was meh. We didn’t hate it. But we didn’t love it either. So we decided we’d take the week after we closed on the house off and paint our cabinets! Pssssh – easy peasy, right? Little painting – little neighborhood exploring – little happy hour’ing maybe?
Negative. It took the ENTIRE week – all day – and then some.
Dave’s Dad had suggested using Rustoleum Cabinet Transformations. It saves you the process of having to sand the cabinets before painting. So we did some research and figured what the hell. We’ll give it a whirl. Rust-oleum has lots of really helpful videos to help you through the process (naturally making it look easy as warm apple pie out of the oven) but there were some things we learned along the way that we did just a smidge differently.
Here’s the process in our own words. So many words. and some pictures. And more words. And some bullets. But you should also watch the video too – it’s very informative.
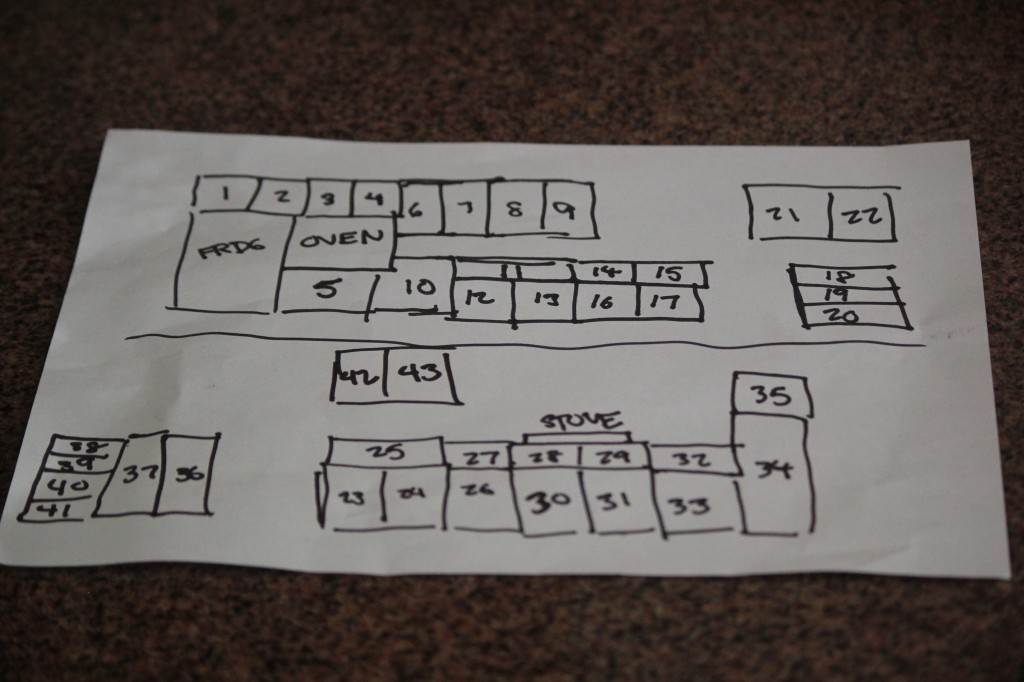
1) MAKE A DIAGRAM OF YOUR CABINETS
I left this to dave, the engineer and better draw’er. This seemed a little silly in the video, but was hugely helpful in the end.
2) ASSIGN A NUMBER TO EACH CABINET ON YOUR DIAGRAM
3) REMOVE YOUR CABINET DOORS AND DRAWER FACES
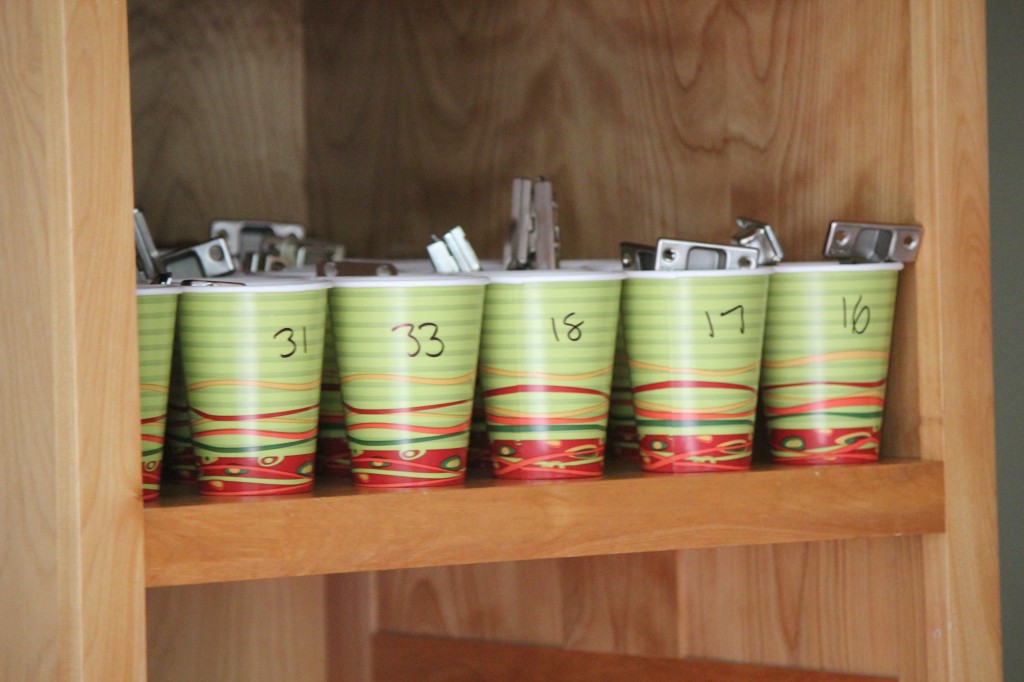
- Number solo cups or zip-lock sandwich bags, coinciding with the numbers you’ve assigned to each cabinet on your diagram.
- Place the hardware for each cabinet in the coinciding solo cup with its number on it.
- Then, with a piece of masking or painters tape, write the number of the cabinet matching it’s number on the diagram and stick it on the front or back of the cabinet door or drawer face.
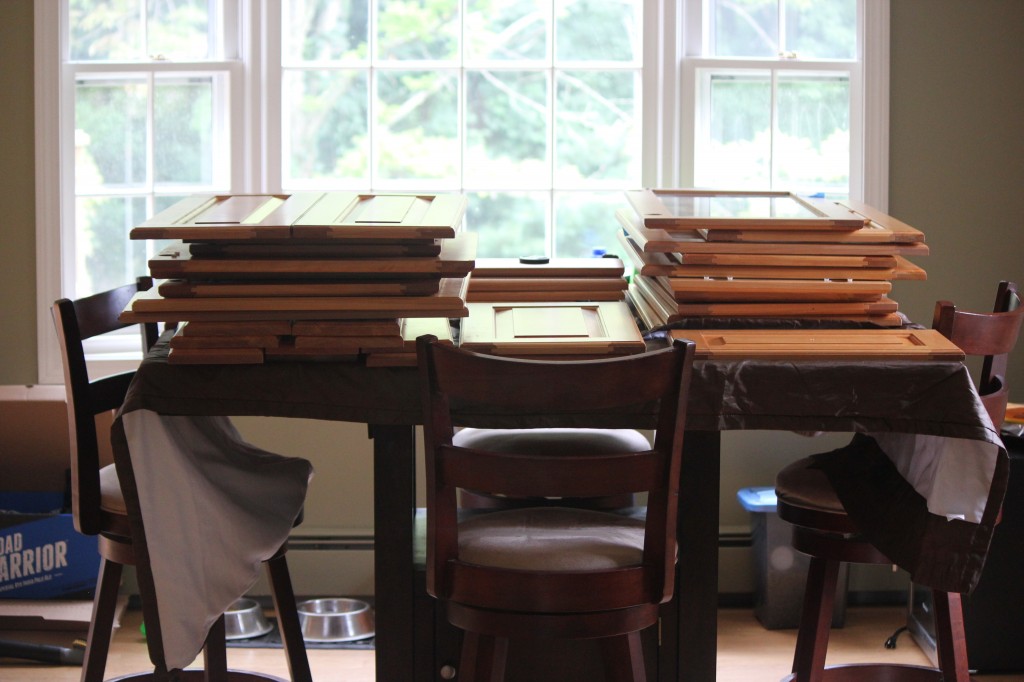
- Take all of your cabinet doors and drawer faces to a DRY and CLEAN location (like your basement perhaps). Anywhere where the humidity will be low to allow for paint to dry, and also where there wont be dust and other random things flying around to get stuck in the paint. We started ours in our basement, but then when it decided to be the hottest and most humid week of the summer the same week we did this, I had to move them out to our garage which was much cooler and dryer. I’m not bitter though.
5) CREATE PLANKS FOR YOUR CABINET DOORS AND DRAWER FACES TO REST ON
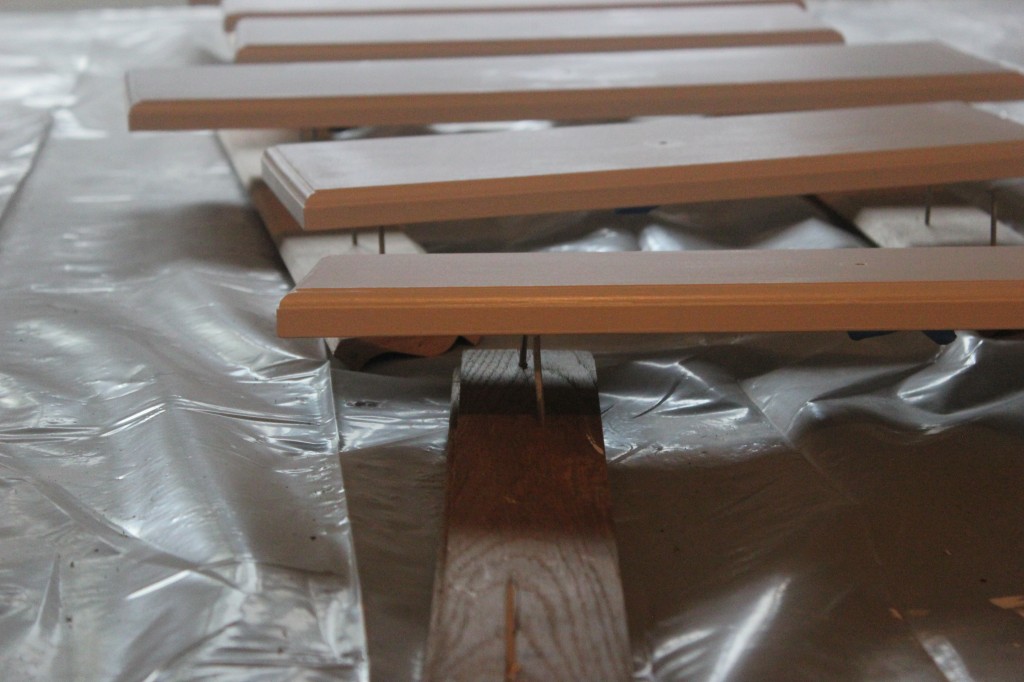
- Take pieces of wood, like a 2×4 or even just any scrap wood you might have lying around. I actually used those awful wooden planks from IKEA that you put in your bed frame to rest your mattress on top of (yes, we still have IKEA beds) and that worked really well.
- Hammer a nail into the wood, just enough so that it is sturdy and wont move around and the flat head of the nail is sticking out. You’re basically creating a little raised bed to paint your cabinets on that will make it easy for them to dry and flip over. Make sure to use a nail that has a wide head vs. a small one.
- *What we did differently from the video – In the video, they have you put the nail all the way through the wood, so that you’re resting the cabinet faces/doors on the pointy part of the nail. Bad idea in my opinion, as when your cabinets are drying w/ paint on them, or while you’re painting the other side, if they move around at all on the nails, they’ll scratch them and the paint and you’ll have to touch them up. Leaving the flat part of the nail as the place where the cabinets will rest makes it less likely that they’ll get scratched in the process.
6) LAY YOUR PLANKS ON A RAISED SURFACE, LIKE A TABLE
We had 9 zillion cabinets, so we obviously didn’t have enough table space to put them all at a raised hip level surface – we had to paint some on planks on the floor as well. But in the end, if we did it again (we wont. ever) I’d make sure they were all at hip level. It just made it a lot easier to see what you were doing and not have to contort your body having them closer to the ground. There was also less chance of them getting dirty, not being so close to the floor. It doesn’t necessarily have to be a table either. Take a couple saw horses and balance some plywood on there – folding card tables work well – basically any flat surface that will make the cabinets hip level to you.
6) USE PAINTERS TAPE TO PREP YOUR CABINET FRAMES
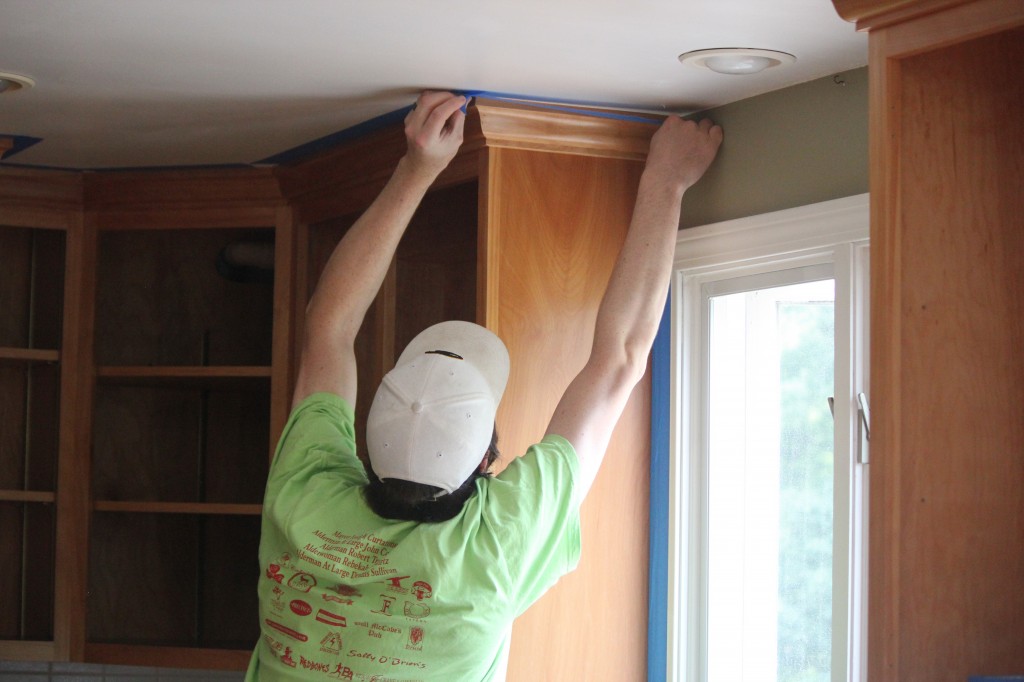
Line the tape all around the edges where your cabinets are so that the paint won’t get onto the walls. I would also highly recommend taping off your kitchen with plastic sheets so that again, dust and other random things (like BROWN DOG HAIR – HAIRY) don’t fly into your paint when its wet.
7) Mmmkay. After 94589458 hours of prep work, you’re ready to start!
8) CLEANING YOUR CABINETS AND FRAMES
We used simple green. Any cleaner will work really. Wipe them all down, front and back, basically just to make sure they’re as clean as possible before you start de-glossing.
9) DE-GLOSSING
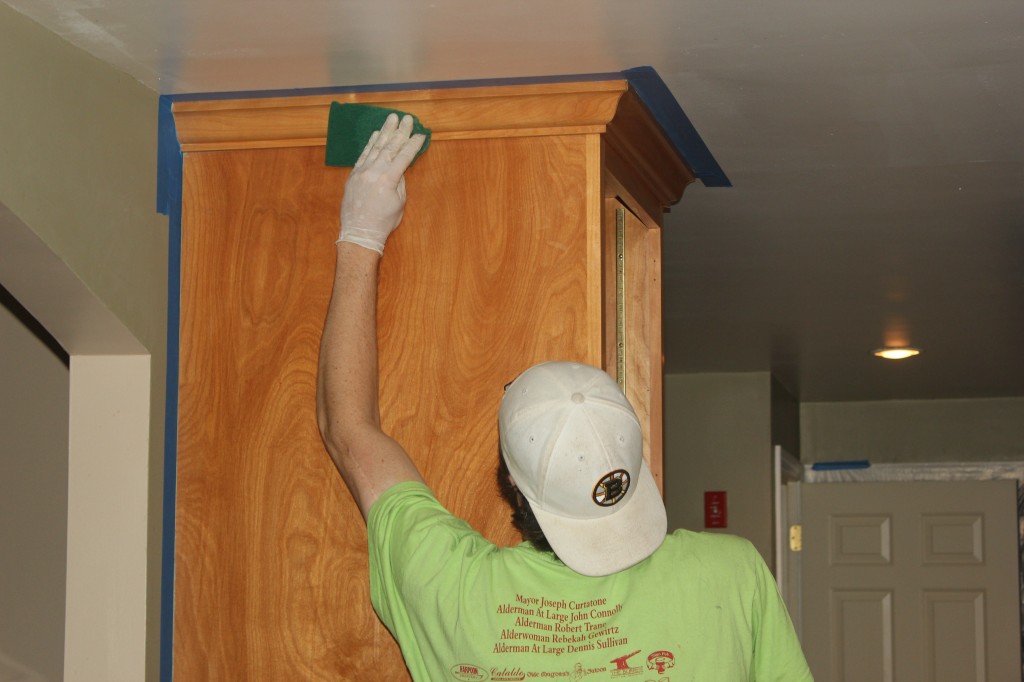
- This is the step in the Rust-oleum process that eliminates sanding from refinishing, so for that THANK YOU Rust-oleum. While it’s still a process to de-gloss, I can’t imagine having had to sand all of these mothers. OMG. The dust. It would have been brutal. They provide you with a de-glosser and green scrub pads. Disclaimer: you’ll have loads of extra de-glosser, but you will need extra scrub pads. They only include 2, which is a little silly. But again, we had so many cabinets. You can just use regular green scrub pads that you buy at the grocery store. NBD.
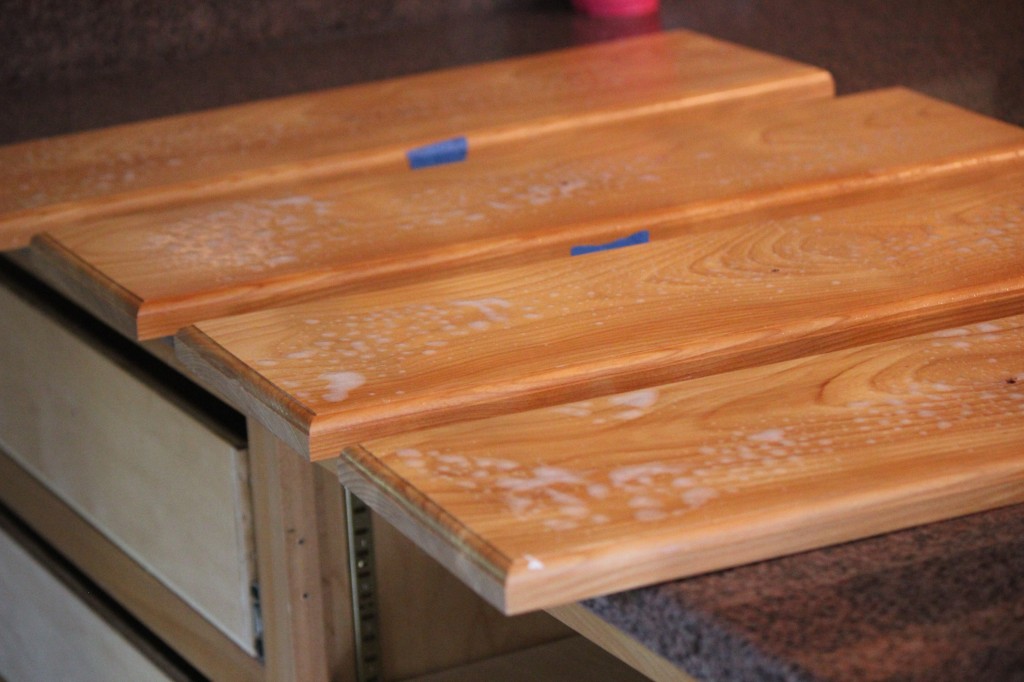
- Squirt the de-glosser right on the scrub pads and SCRUB children! Like you’ve never scrubbed before! The more the better! You’re taking these from shiny to dull basically, getting rid of any top coat/glaze/polyurethane that is on the pre-existing cabinets. This will help the paint to stick and look more smooth. So – scrub scrub!
- After you’ve scrubbed both sides and your frames, wipe down with a LINT FREE WET CLOTH and then dry it off with a LINT FREE DRY CLOTH. Of course anything you do to those you gotta do to your frames too.
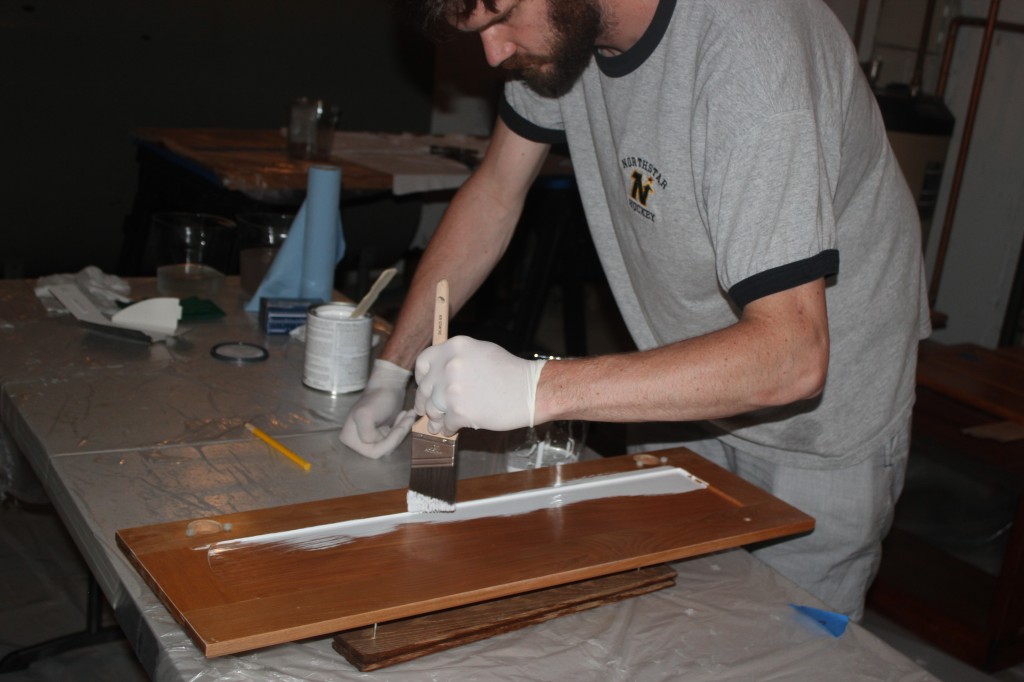
10) START PAINTING – After you’ve de-glossed, now you can start painting! Wahoooozles!
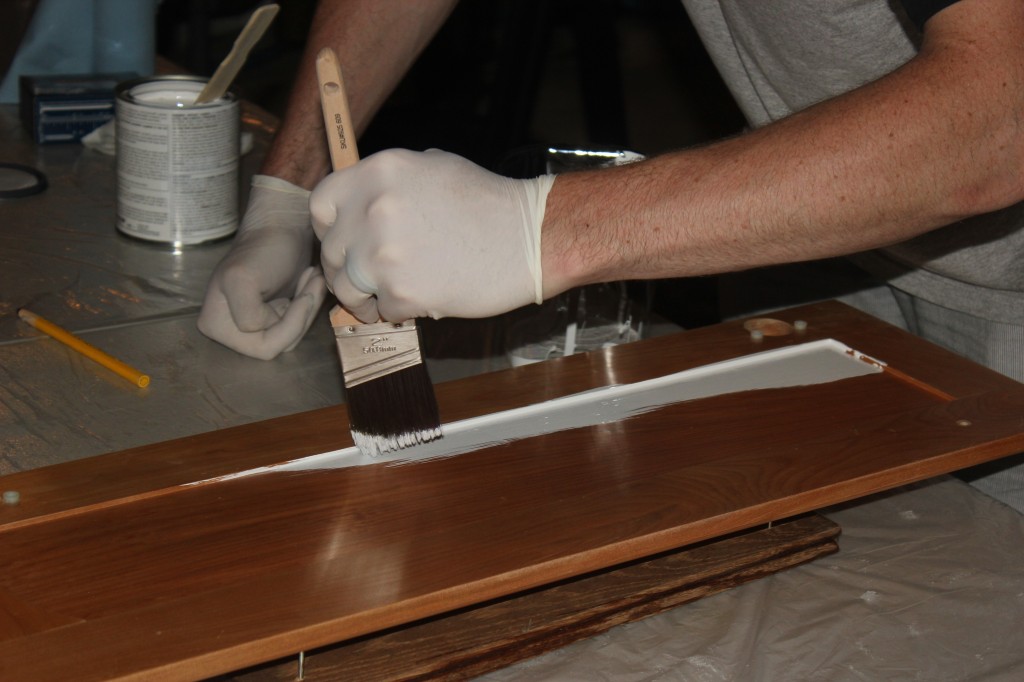
- We used 2″, synthetic paint brushes.
- START BY PAINTING THE BACK SIDE FIRST! This’ll help you get used to the process and if you F’ up, well, its the back.
- Depending on the detail in your cabinets (creases/crevices/etc), its best to start with the corners/crevices first, making sure to feather out the paint so there’s no excess that collects in them, and then do the edges/flat surfaces, using the same feather method.
- WAIT 2-3 HOURS before applying your next coat
- When painting your doors/faces, obvi its a pain in the rear because you gotta paint – then wait – then flip. Personally, I did one side (3 coats – YES THREE) in it’s entirety, then flipped it over and did the front of the cabinet. The video does it a bit differently, but I found this to be easier.
- IMPORTANT NOTE***what we did differently from the video: The sticky piece of tape that you’ve written your cabinet’s number on is VERY IMPORTANT HERE. The video shows you completely taking off the piece of tape off of the cabinet door/face when you paint it, and then placing it on the table in front of the cabinet you’re painting. NOO NOO NOOO. Being that we 1) didnt have enough table/plank space for all the cabinets and 2) had to relocate from the basement into the garage, well, it was a mess. I forgot to re-stick some of the numbers to their cabinets and they got all mixed up (biggest Dave eye roll in history). In the end, it wasn’t a big deal, thanks to the diagram we had. But, what I WOULD RECOMMEND is simply sticking the number onto the side that you’re not painting while you’re painting the other side. Then, when you flip it over, just stick it on the dry side that you just painted. This way, there’s no room for error in mixing up the numbers by taking them off.
- Do all your painting, both sides, and the frames, waiting about 2-3 hours in between each coat. Like I said, it took us 3 coats, which was more than we thought, but oh well. After the final coat has been put on, let them sit for 12 hours (or overnight), just to ensure that they’re fully dry and ready for the top coat.
11) TOP COAT – HOME STRETCH!!!!
- You’re cabinets have dried, the paint is on. Survey them briefly to see how they look. Check for drip marks or any collections that have occurred. It’s easy enough to just sand them down and touch them up with a little paint. The places most likely to collect paint drips are the crevices/creases, and also the sides of the cabinets. That’s where we found most of ours to be.
- When they’re to your liking, apply your top coat. It’s very runny and liquidy, and dries super fast so make sure you’re applying a very very thin coat. Dribbles aren’t as easy to clean up because of the speed that it dries. It’s also tricky to see because it’s essentially a clear’ish white liquid, so be very scant in your top coat usage.
- Try to avoid puddling with the top coat as it starts to yellow when it collects in spots.
- After all your top coat is applied (both sides of your doors/faces and also your frames) wait another 12 hours before replacing them, just to be on the safe side. Even though it dries fast, you’ve just done so much work – whats another few hours to wait? (it seems like a ton!)
- With your diagram in hand, re-install your hardware to each cabinet drawer/face, matching the number cup to the diagram, and reinstall them to the frames and drawers. Also add new rubber/felt bumpers to the backs to lessen the slammage.


7 comments
Looks great! What was the color you used?
Sorry Chantelle! I just saw this! (all my comment emails were going into Spam!) We used Linen and it was the perfect shade of white!
looks awesome! Im curious… did yall not use a wood filler? I want my oak cabinets to be white but not the “antiquey white”. Im afraid the grain will show through.
Thanks Sarah! So worth it! We didn’t use a wood filler at all – just the deglosser, paint and top coat that were included in the kit. We did have to do 3 coats of paint but the wood grain doesn’t show through at all! They also include kind of a ‘decorative glaze’ that you could maybe test out to see if you like the look of it. We didn’t use it, primarily because it just added one more step to the process, but also because we liked the look of just the pure white. Good luck if you end up using Rustoleum!
Kate the cabinets looks AMAZING! I’ve been dying to repaint our kitchen cabinets that were gifted to my boyfriend and I from my parents. They’re in great shape but the color is all wrong for us. By using a brush on them, did you find that the paint looked streaky? Almost like if you were to use a high gloss paint where you can see ALL the brush strokes from the bristles. I was contemplating renting a paint sprayer to do mine but I’d say my kitchen is about half to a third the size of yours and this would be the cheaper and easier way out with not having to do any sanding in all the little nooks and crannies. And also, was 1 kit sufficient to do your entire kitchen? Thanks in advance!!
Hi Kayla! Thank you so much! They were indeed a labor of love, but we’re so happy we did it! Honestly, I don’t think the paint was streaky at all. We were using white, so I’m not sure with other colors, but maybe test out the back of one just to see, but I think the paint goes on quite smoothly! Doing a couple/few coats definitely helps too. The only issue we ran into was being that we painted them in the summer and then it got cold in the winter, the paint kind of cracked a bit in the seams/crevices of the cabinets. Nothing majorly noticeable, but all we did was just take some sandpaper and sand the rough edge of the crack down and throw a little more paint on there. And I don’t think that’s a ‘rustoleum’ specific problem as my mom and stepdad had their bathroom cabinet professionally painted and the same thing happened to them! I think it’s just a temperature thing. Sounds like you’d be ok with just one kit too based on the size of your kitchen – we bought three and I think only used one full one and 1/2 of another. I would DEFINITELY recommend getting more of the green scrub pads for the ‘deglossing’ step – I think they only give you two and those will dull down real fast. I also think using as many fresh ones as possible will really help to get the glossy texture off the cabinets to allow for a nice smooth paint job! Give it a try – I bet you’ll really like them! And save so much money too! Good luck and let me know if you have any other questions!
looks like it has been about a year, how are they holding up?
Comments are closed.